
Life Style
Transform Your Kitchen with a DIY Cabinet Upgrade
Ready to give your kitchen a fresh, functional look without breaking the bank? A DIY cabinet upgrade is the perfect project to elevate your space, add storage, and personalize your home. Let’s dive into how you can tackle this rewarding task with confidence and creativity.
Why Upgrade Your Kitchen Cabinets?
Kitchen cabinets are the backbone of any kitchen, serving both practical storage needs and defining the aesthetic of the space. Over time, they can become outdated, worn, or simply not suited to your lifestyle. Upgrading them yourself allows you to save on costly professional installations while customizing the design to match your vision.
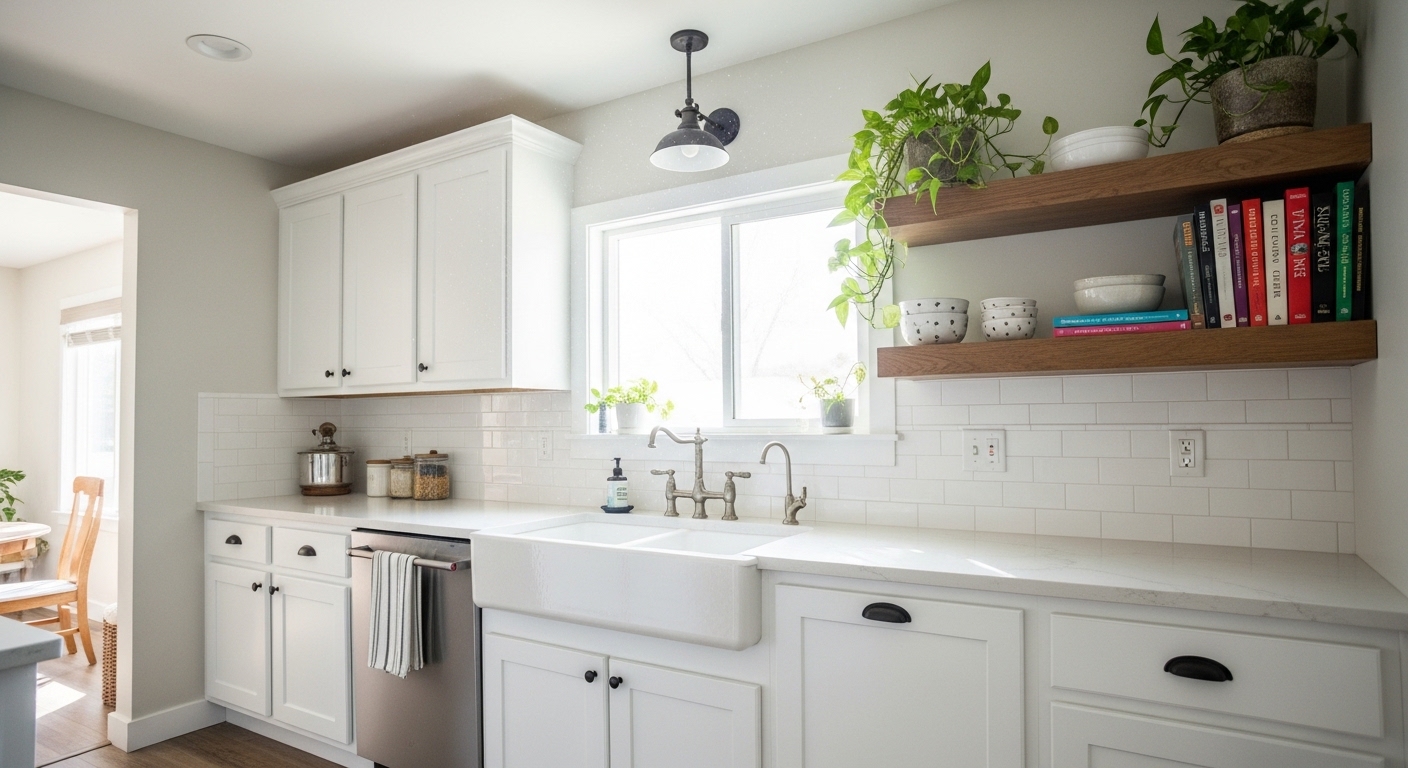
Think about the potential impact—new cabinets can make a cramped kitchen feel spacious or turn a dull room into a vibrant hub. Whether you’re aiming for a modern minimalist vibe or a cozy farmhouse feel, this project puts you in control. Plus, the satisfaction of completing it yourself is unbeatable.
Planning Your Cabinet Upgrade
Before you pick up a tool, planning is key to a successful DIY project. Start by assessing your current cabinets—are they structurally sound, or do they need a full replacement? Measure your space carefully to ensure new components fit perfectly, and sketch out a layout that maximizes storage and accessibility.
Consider your budget and timeline as well. DIY upgrades can range from a simple repaint to installing entirely new units, so decide what’s feasible for you. Don’t forget to account for unexpected challenges like uneven walls or plumbing issues that might pop up during the process.
Choosing the Right Materials and Style
Selecting the right materials and style is where your kitchen’s personality comes to life. Solid wood offers durability and a classic look, while laminate or MDF can be more budget-friendly and easier to work with for beginners. Think about finishes too—matte paints for a modern touch or glossy for a sleek, polished vibe.
Your style choice should complement the rest of your home. If you’re unsure where to start with inspiration, browsing online design galleries can spark ideas for colors and configurations.
Step-by-Step Installation Guide
Now, let’s get to the hands-on part—installing your cabinets. Begin by removing old units if necessary, ensuring you turn off water and electricity to avoid mishaps. Clear the space and lay down protective coverings to keep dust and debris under control.
Next, assemble your new cabinets according to the manufacturer’s instructions. If you’re sourcing components, a reliable store for Kitchen Cabinets can provide detailed options to suit various layouts and budgets. Secure the units to the wall using a level to ensure they’re straight, and double-check all measurements before drilling.
Finally, install doors, handles, and any additional features like pull-out shelves. Take your time with alignment—small missteps here can affect the overall look. Test everything to make sure it operates smoothly before moving on to finishing touches.
Painting and Finishing Touches
Once your cabinets are installed, painting or staining can transform their appearance. Choose a high-quality primer to cover existing finishes, especially if you’re working with older wood. Apply paint or stain in thin, even coats, allowing ample drying time between layers for a professional-grade finish.
Don’t skimp on hardware—new knobs and pulls can elevate the entire look. Consider soft-close hinges for a modern touch that prevents slamming. These small details make a big difference in both functionality and style.
Maximizing Storage and Functionality
Upgraded cabinets aren’t just about looks; they’re a chance to optimize your kitchen’s efficiency. Think about adding organizers inside drawers for utensils or installing corner pull-outs to access hard-to-reach spaces. These tweaks can turn chaos into order, making daily tasks smoother.
If you’re curious about broader trends in home organization, resources like this overview of global shopping events can highlight seasonal opportunities to snag deals on storage solutions. Customizing your cabinets to fit your cooking habits—whether it’s extra spice racks or a dedicated baking zone—ensures the space works for you. Keep experimenting until the layout feels just right.
Overcoming Common DIY Challenges
Every DIY project comes with hurdles, and cabinet upgrades are no exception. Uneven walls can make installation tricky, so use shims to level things out. If you’re dealing with limited space, prioritize wall-mounted units to free up floor area.
Another common issue is underestimating time or tools needed. Always have a contingency plan for delays, and rent or borrow specialty tools if buying isn’t an option. Patience and problem-solving are your best allies here—don’t rush through tough spots.
Final Thoughts on Your Kitchen Transformation
Embarking on a DIY cabinet upgrade is a fantastic way to refresh your kitchen while honing your skills. With careful planning, the right materials, and a bit of elbow grease, you can create a space that’s both beautiful and functional. Take pride in each step, and enjoy the stunning results of your hard work!

Emergency Service Information Worth Keeping on Hand

Who Is Bhavna Vaswani? Life, Career, and Achievements

What Happened to Zoltan Hargitay? Key Facts Revealed

Clint Eastwood Net Worth and Family Life: What You Didn’t Know

Best X Video Downloader Without Watermark — How to Get Clean HD Files

The Story Behind Akon’s Net Worth and His Rise to Fame
-
 Celebrity10 months ago
Clint Eastwood Net Worth and Family Life: What You Didn’t Know
-
 Technology3 months ago
Best X Video Downloader Without Watermark — How to Get Clean HD Files
-
 Celebrity10 months ago
The Story Behind Akon’s Net Worth and His Rise to Fame
-

 Celebrity9 months ago
Inside Richard Hammond’s Life: How He Built His Net Worth